By Shira Berkovich, Founder of Craftiloo · Last updated: November 10, 2026
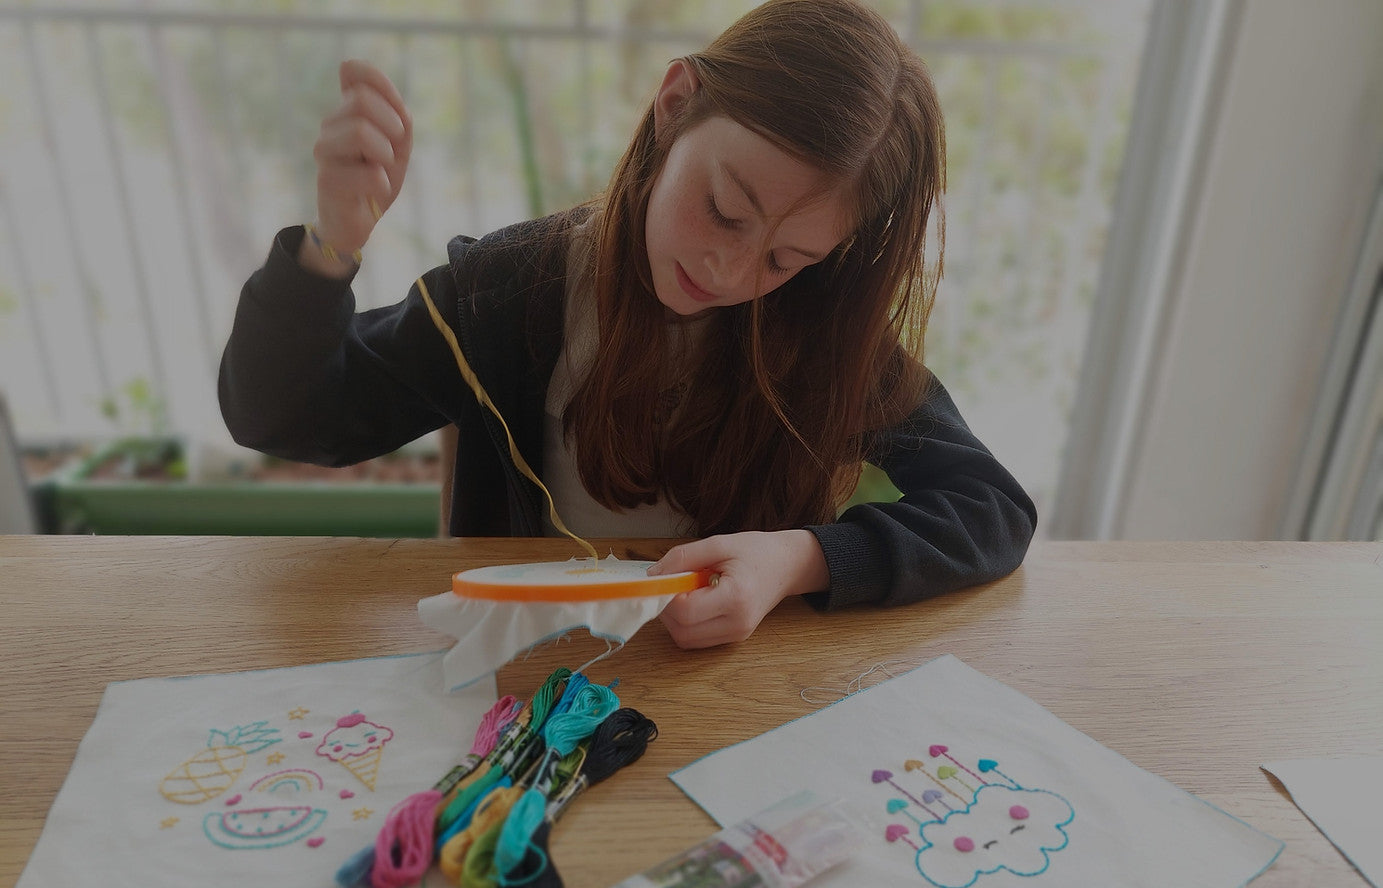
Start with running stitch, the simplest embroidery stitch: up through the fabric, down a short way along the line, and repeat. Use a stamped design so the line to follow is printed on the fabric, and put it in a tight hoop so it's easy to hold. Show the stitch once, make the first few stitches together, then let your child take over. Once running stitch feels easy, move on to backstitch, which makes a solid line.
This guide is for parents and grandparents sitting down with a child for the very first time. If you're still choosing a kit, see our guide to the best embroidery kits for kids.
Quick answer
| Question | Short answer |
|---|---|
| Which stitch first? | Running stitch, then backstitch |
| What age can kids start? | Around 7 with a stamped kit, depending on the kit's age range |
| Thread length? | About 18 inches (45 cm) |
| Knot? | Yes, for kids. Tie one at the end of the thread. |
| How long is the first session? | Short. Stop while they're still enjoying it. |
| Your job | Thread the needle, start the first stitches, then step back |
Before the first session
- Pick a design with simple lines. A rainbow, a heart or a cloud is better than a detailed animal face.
- Hoop the fabric yourself and tighten it until it's drum-tight.
- Thread the needle and knot the end. Threading is fiddly for small fingers. Your child can learn it once they're hooked.
- Sit side by side, not across the table, so your child sees your hands the same way round as their own.

How to teach running stitch
- Come up from the back at the start of a printed line. Pull until the knot catches.
- Go down a short way along the line, about the length of a grain of rice.
- Come up again a short space further along the line.
- Repeat to the end of the line.
Say it out loud together: "up… down… up… down." Rhythm helps.
What you'll see: a dashed line, like a road marking. Stitches don't need to be even yet.
Then teach backstitch
Backstitch makes a solid line, and it's the stitch most kids' designs use for outlines.
- Make one running stitch.
- Come up one stitch-length ahead on the line.
- Go back down into the end of the previous stitch.
- Repeat. Each stitch goes back to meet the last one, so there are no gaps.

5 tips that make the first session go well
- Keep the thread short. Long thread tangles, and tangles end sessions.
- Let them make mistakes. Uneven stitches are fine. Only help if the thread is knotted or the needle came unthreaded.
- Finish one small line. A first session ends best with something finished, even one petal.
- Praise the progress, not the neatness. Point out how much of the line is filled.
- Stop early. End while they still want more. That's what brings them back tomorrow.
Common first-session problems
| Problem | Fix |
|---|---|
| Thread keeps pulling out of the needle | Leave a longer tail on the short end (about 4 inches) |
| Fabric puckers | Re-tighten the hoop and pull stitches until they lie flat, not tight |
| Thread knots underneath | Shorten the thread, and pull each stitch through slowly |
| Stitches go off the line | Slow down and aim for the line on the way down |
| "It's too hard" | Go back to running stitch, and do every other stitch together |

What comes next
After running stitch and backstitch, most kids are ready for:
- Lazy daisy: a loop for petals and leaves
- Satin stitch: filling a small shape with color
- French knot: dots and flower centers (the trickiest, so save it for later)
Kits that work well for a first session

Beginner Embroidery Kit, 10 Stamped Patterns (Amazon) is for ages 7–13. It has 10 stamped designs, 2 hoops (17 cm), floss, 10 needles, 4 threaders and an unpicking tool. With ten designs, a child can repeat the same stitches on a new picture each time.

5 Stamped Embroidery Kit (Amazon) has 5 small designs in mini hoops that turn into backpack charms. Small hoops mean quick finishes, which is ideal for a first session.

When our kits aren't the right fit: if your child is under about 7, or finds a needle frustrating, start with lacing cards or plastic-canvas needlepoint first. These build the same in-and-out motion with bigger holes. Our lacing cards guide explains how.
Other good options
DMC, the floss maker, publishes free stitch diagrams, which are useful for teaching the next stitches. Whatever kit you choose, look for a stamped design, a hoop small enough for a child's hand and picture-based instructions.
FAQ
What is the first embroidery stitch to teach a child? Running stitch. It's just up and down along a line. Backstitch is the natural next step.
What age can a child learn embroidery? Many children start around 7 with a stamped kit and a helper. Check each kit's age range. Our 10-pattern kit is for ages 7–13.
Should kids use a knot in embroidery? Yes. A knot at the end of the thread is the simplest way for kids to start.
How long should a child's first embroidery session be? Short. End while they're still enjoying it, ideally right after finishing one small line or shape.
Do kids need a hoop for embroidery? Yes. A hoop keeps the fabric tight, which makes stitching much easier and neater.
Is embroidery or cross stitch easier for kids? Cross stitch is simpler (one X stitch on a grid). Embroidery starts with running stitch, which is also easy, but it has more stitches to learn later.
Related Craft Guides: Best Embroidery Kits for Kids · Cross Stitch vs Embroidery vs Needlepoint