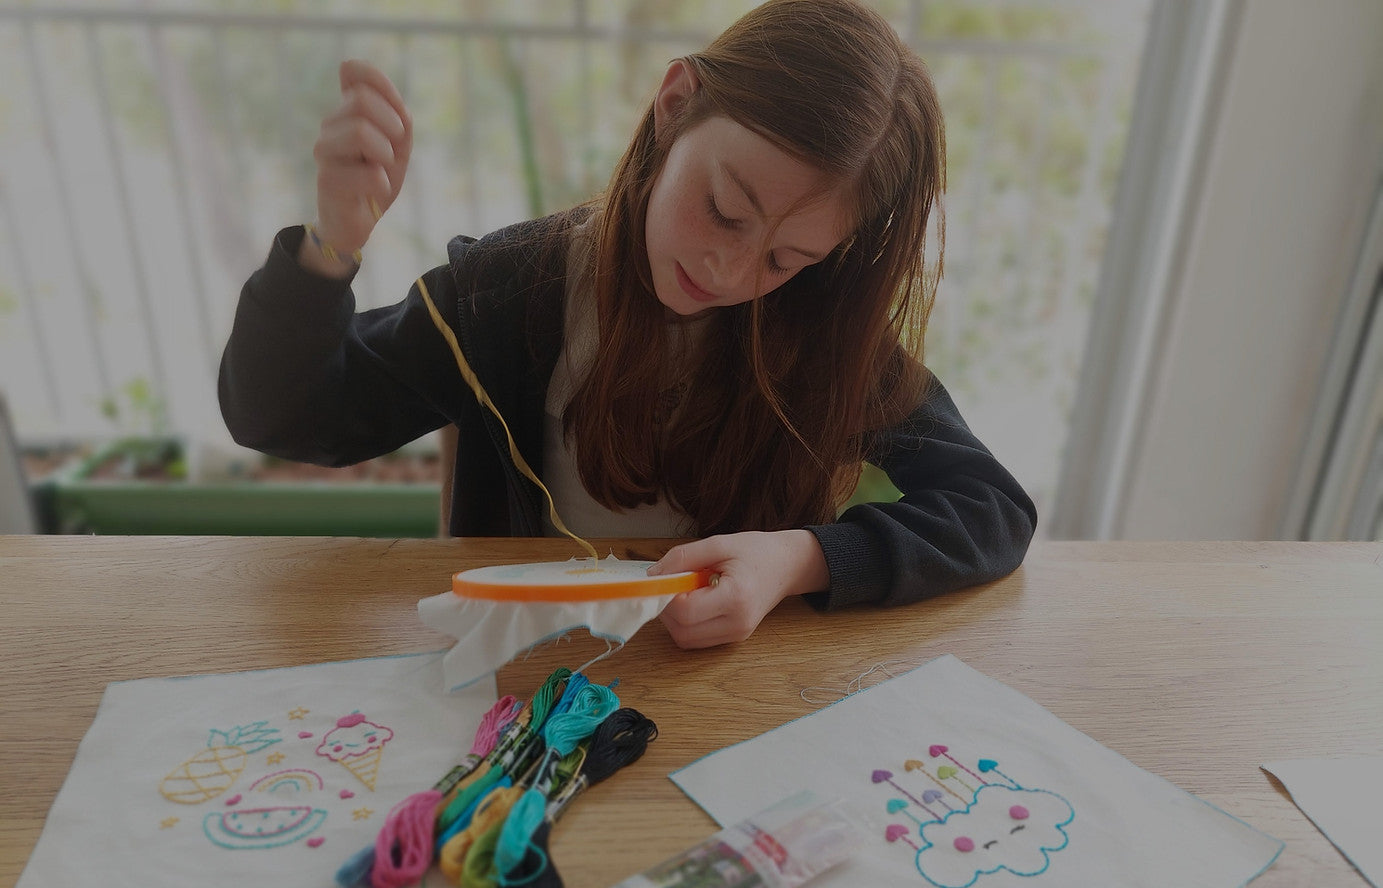
By Shira Berkovich, Founder of Craftiloo · Last updated: November 10, 2026
To start a cross stitch kit, put the fabric in the hoop, cut about 18 inches of floss, thread the needle and knot the end, then come up from the back of the fabric. Make each X in two half-stitches: from bottom-left to top-right, then from bottom-right to top-left. With a stamped kit, the design is printed on the fabric, so a child simply stitches an X over each printed square. No chart, no counting.
This guide walks through a first session, step by step, for the child stitching and the grown-up helping.
Quick answer
| Question | Short answer |
|---|---|
| Where do I start on the design? | In the middle of one color area, or the bottom-left of the design |
| How long should the thread be? | About 18 inches (45 cm). Longer thread tangles. |
| How many strands? | Follow your kit's instructions |
| Knot or no knot? | A knot is fine for kids' projects. Adults often weave the end instead. |
| How do I make an X? | Bottom-left to top-right, then bottom-right to top-left |
| What age can kids start? | Around 6–7 with a stamped kit and blunt needle, depending on the kit's age range |
Before you start: unpack and sort
- Lay everything out. A kit like ours has printed fabrics, small hoops, floss, blunt needles, threaders and keychain clips.
- Pick the first design. Choose one with big blocks of color.
- Sort the floss by color and match each color to the printed squares.

Step-by-step: the first stitches
- Hoop the fabric. Put the printed fabric in the hoop and tighten it until the fabric is flat and firm. Loose fabric makes stitching harder.
- Cut the floss to about 18 inches.
- Separate the strands if your instructions say to use fewer than the full thread.
- Thread the needle with the threader: push the wire loop through the needle's eye, put the floss through the loop and pull it back.
- Tie a knot at the long end of the floss.
- Come up from the back at the bottom-left corner of a printed square.
- Go down at the top-right corner. That's the first half of the X.
- Come up at the bottom-right corner, and go down at the top-left. That's a full X.
- Keep going across the row. Some kids find it easier to do a row of half-stitches first (all / ) and then come back across (all \ ).
- Finish the thread on the back. Slide the needle under a few stitches, pull through and cut.
Tip for the helper: make the first two or three Xs together, then hand it over. Most kids get the rhythm quickly once they've seen it.

The 4 beginner mistakes (and fixes)
- Tangled thread. The floss is too long, or it's twisting. Use shorter lengths, and let the needle dangle now and then to untwist.
- Xs that look different. The top stitch should always slant the same way. Do all the / first, then all the \ .
- Pulling too tight. Puckered fabric means the stitches are pulled too hard. Pull until the floss lies flat.
- Thread running out mid-row. Start a new length on the back, under a few stitches, and keep going.
Finishing a backpack charm
In our backpack charm kits, each design stays in its small hoop and becomes a charm:
- Trim any floss ends on the back.
- Close the back. The Cat, Dog and Safari kits include felt stickers and circle stickers for this.
- Clip on the keychain and attach it to a backpack or zipper.

Our stamped cross stitch kits for kids
Each of these kits makes 5 backpack-charm designs. Every kit includes floss, 5 plastic hoops, 4 blunt (pointless) needles, 2 threaders, 5 keychain clips and 5 printed fabrics.

Beginner Cross Stitch Kit (Amazon) has 5 bright starter designs for ages 7–13.

Cats Cross Stitch Kit (Amazon), Dogs Cross Stitch Kit (Amazon) and Safari Animals Cross Stitch Kit (Amazon) add felt sticker decorations to dress up each animal.

Superhero Cross Stitch Kit (Amazon) has 5 superhero designs, popular with boys and girls.

2-in-1 Cross Stitch & Embroidery Kit (Amazon) is for ages 6+ and makes 8 projects. It's a good choice if your child wants to try both crafts.

When our kits aren't the right fit: if your child is ready to read a counted chart, or wants a bigger framed picture, look for a counted cross stitch kit on Aida fabric. Ours are stamped kits for a first project.
Other good options
Dimensions makes beginner cross stitch kits, including larger framed pictures for kids who've outgrown small charms. Whatever you choose for a first kit, look for a printed (stamped) design, blunt needles and a small project size.
FAQ
How do you start a cross stitch kit for beginners? Hoop the fabric, cut about 18 inches of floss, thread the needle, knot the end and come up from the back. Then make Xs over the printed squares.
Where do you start on a cross stitch design? With a stamped kit, start in one color area, usually at its bottom-left. Counted charts usually start in the center.
Do you tie a knot in cross stitch? For kids' projects, a knot is fine. Many adult stitchers weave the end under stitches on the back instead, for a flatter finish.
What age can a child start cross stitch? Many kids start around 6–7 with a stamped kit and blunt needles. Check the kit's age range. Our beginner kit is for ages 7–13, and our 2-in-1 kit is 6+.
How do you finish a cross stitch thread? On the back, slide the needle under 3–4 stitches, pull through and trim.
What's the difference between stamped and counted cross stitch? Stamped kits have the design printed on the fabric, so you stitch over it. Counted kits use blank fabric and a chart you count from.
Related Craft Guides: Cross Stitch vs Embroidery vs Needlepoint · Best Craft Kit Gifts for Girls by Age